Propagation
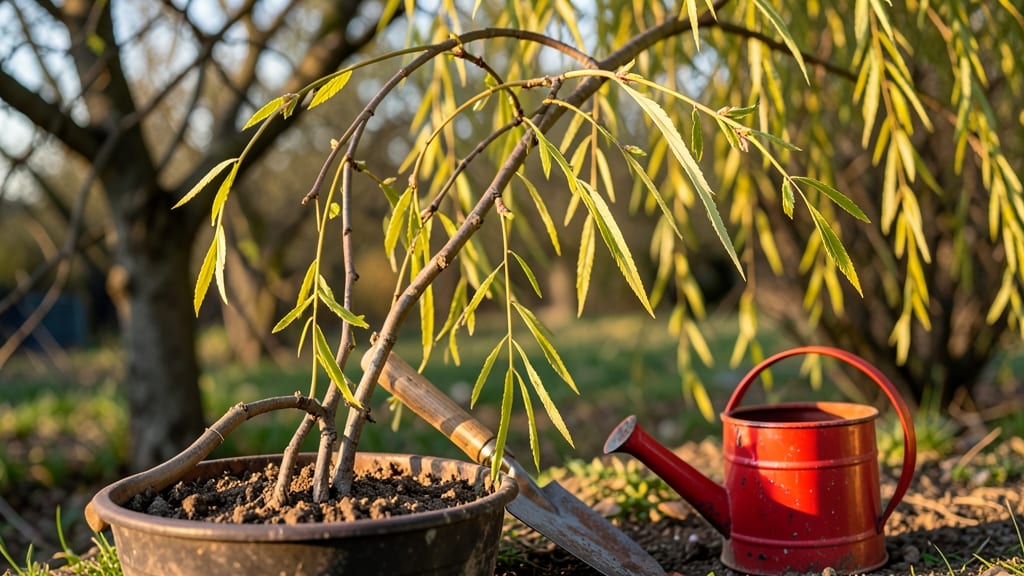
Planting willow cuttings delivers shockingly fast roots—some varieties even sprout within 10 days when done right. 🌱 I’ve turned twiggy branches into lush, leafy willows just by following a few simple steps, and you can too without fancy tools or greenhouses.
The magic starts with 4-6 inch cuttings taken in late winter or early spring, just as buds swell but before leaves appear. Willow roots best in water first—place stems in jars with just the bottom inch submerged, changing the water every few days.
For soil, use moist, well-draining potting mix and bury cuttings 2-3 inches deep.
By early summer, you’ll see vibrant new shoots and roots thick enough to transplant. The best varieties for beginners? Weeping willow (Salix babylonica) and pussy willow (Salix discolor)—both root like crazy and handle mistakes better than fussy species.
Fair warning: Overwatering drowns cuttings faster than anything else. Keep soil or water just damp, and watch those roots take off. Once established, willows grow 3-6 feet per year, making them the ultimate fast-track garden project.
📚 In This Guide
- What you need
- Instructions
- Tips and common mistakes
- Wrapping up and next steps
What you need
- ● Willow cuttings: 4–6 healthy, pencil-thick (½–¾ inch diameter) branches, 12–18 inches long, harvested in late fall or early spring (avoid flowering stems).
- ○ Rooting hormone (optional but helpful): A small bottle (e.g., Rootone or Dip ‘N Grow) to boost root growth.
- ● Containers: For water rooting: 2–4 clean glass jars or vases (16–20 oz) with water.
- ● For soil rooting: 2–4 small pots (4–6 inches deep) with drainage holes + saucers.
- ● Potting mix: 1 bag of well-draining soil (e.g., 50% peat moss + 50% perlite/sand) or coconut coir for moisture retention.
- ● Water: Room-temperature, chlorine-free (let tap water sit 24 hours or use filtered water).
- ● Pruning shears: Sharp, clean pair to make clean cuts at a 45° angle.
- ● Plastic wrap or humidity dome: To retain moisture (e.g., a clear plastic bag or humidity tent).
- ● Fertilizer: A diluted seaweed or fish emulsion solution (½ strength) to add nutrients after roots form.
- ● Grow lights: LED or fluorescent lights for indoor setups (12–14 hours/day).
- ● Label markers: To track cutting varieties or planting dates.
- ● Rooting cubes: Pre-moistened sphagnum moss cubes for a soil-free alternative.
- ● Heat mat (for soil rooting): Keeps soil warm (70–75°F) to speed up rooting.
Step-by-step instructions for planting willow cuttings
Here's how to coax vigorous roots from willow cuttings in record time—whether you're rooting in water or soil.
🌱 Step 1: Harvest Healthy Cuttings at the Right Time
Collect 4-6 inch willow cuttings from dormant branches in late winter or early spring, just as buds begin to swell. Look for pencil-thick stems with smooth bark and no signs of disease. The best time is when the tree is still dormant but about to break dormancy—this ensures maximum rooting energy.
Use clean, sharp pruners to make a clean cut just below a node (the bump where leaves or buds attach). I like to gather cuttings on a dry day when the tree's sap isn't flowing heavily—this prevents the cut ends from bleeding too much. Store them in a cool, dark place until you're ready to root them, but don't let them dry out.
💧 Step 2: Prepare Cuttings for Root Growth
Remove any leaves from the lower half of the cuttings to prevent rot and reduce moisture loss. For water rooting, place the cuttings in a container with room-temperature water—just enough to cover the bottom 1-2 inches of the stem. Change the water every 3-4 days to keep it fresh and oxygenated.
If rooting directly in soil, prepare a well-draining mix of 50% perlite and 50% potting soil. Willow cuttings root best in moist but not soggy conditions, so avoid heavy garden soil. Dip the cut end in rooting hormone (optional but helpful for faster results) before inserting the cutting 2-3 inches deep into the mix.
☀️ Step 3: Provide Ideal Conditions for Fast Root Development
For water-rooted cuttings, place the container in bright, indirect light—think 50-70% shade to prevent algae growth in the water. You'll see roots emerge in as little as 7-14 days, but some varieties may take up to 3 weeks. Watch for tiny white root hairs forming along the submerged portion of the stem—that's your signal to act fast.
Soil-rooted cuttings need consistent moisture and warmth to encourage root growth. Keep the soil at 65-75°F and maintain even moisture—never let it dry out completely. A clear plastic bag over the pot creates a mini greenhouse effect, trapping humidity and speeding up root development. Remove the bag once you see new leaf growth, which means roots are established.
✂️ Step 4: Transplant Rooted Cuttings to Soil
Once roots reach 2-3 inches in water or you notice new leaves in soil, it's time to transplant. For water-rooted cuttings, gently rinse off excess water and plant them 2 inches deep in a moist, well-draining soil mix. For soil-rooted cuttings, carefully dig up the cutting and transfer it to its permanent spot.
Willows thrive in full sun once established, but young transplants need gradual acclimation to prevent shock. Water deeply after planting and keep the soil moist for the first 2 weeks. You'll know they're thriving when you see rapid new growth—willows can grow 2-3 feet in a single season if conditions are right.
🌿 Step 5: Maintain and Encourage Vigorous Growth
After transplanting, fertilize lightly with a balanced liquid fertilizer (10-10-10) every 4-6 weeks during the growing season. Willows are heavy feeders but don't overdo it—too much fertilizer can burn roots. Prune any dead or damaged branches in early spring to encourage strong, healthy growth and maintain the plant's shape.
Willows love moist but well-drained soil, so mulch around the base with 2-3 inches of organic mulch to retain moisture and suppress weeds. With proper care, your cuttings will establish quickly and provide fast, dramatic growth—perfect for privacy screens, erosion control, or even basket weaving. You'll be amazed how quickly these cuttings transform into sturdy, thriving plants!
Tips & tricks for perfect willow cuttings root growth
Fast root development is all about timing, conditions, and a few clever tricks that make all the difference between waiting months and seeing roots in record time.
Timing is Everything: The 4-6 inch cuttings you harvest in late winter or early spring are packed with rooting energy, but there's a sweet spot—collect them when buds begin to swell but before new leaves emerge. This window ensures maximum rooting potential. I've found that cutting on a dry day minimizes sap bleeding, which can clog the cut ends and slow root formation.
Rooting Hormone Hack: While rooting hormone is optional, it's a game-changer for faster results. Simply dip the cut end of each 4-6 inch cutting into powdered hormone before planting in soil. This stimulates root growth by up to 50%! For water rooting, skip this step—hormone dissolves in water and becomes ineffective. Watch for those first white root hairs in just 7-14 days with hormone, versus 3-4 weeks without.
Light and Temperature Balance: Willow cuttings thrive in bright, indirect light (50-70% shade) for water rooting, but soil-rooted cuttings need warmth—maintain soil at 65-75°F. I've seen dramatic differences using a seedling heat mat under soil-rooted cuttings. For water rooting, avoid direct sunlight to prevent algae growth, which can smother emerging roots. A simple plastic bag over soil-rooted cuttings creates a greenhouse effect, accelerating root development.
Transplanting Timing: Don't rush transplanting! Wait until roots reach 2-3 inches in water or until you see new leaf growth in soil—this proves roots are established. When transplanting water-rooted cuttings, gently rinse off excess water before planting 2 inches deep to prevent rot. For soil-rooted cuttings, handle carefully to avoid damaging delicate new roots.
Pro Tips for Planting Willow Cuttings
- Fast root development is all about timing, conditions, and a few clever tricks that make all the difference between w...
- Timing is Everything: The 4-6 inch cuttings you harvest in late winter or early spring are packed with rooting energy...
- Rooting Hormone Hack: While rooting hormone is optional, it's a game-changer for faster results. Simply dip the cut e...
Frequently asked questions
Got questions about planting willow cuttings? You’re not alone—this method is simple but has a few key tricks to master. Below, we’ve rounded up the most common queries to help you grow strong, fast-rooting willows with confidence!
When is the best time to plant willow cuttings?
Plant willow cuttings in early spring (just as new leaves begin to sprout) or late winter for the fastest root growth. Avoid planting in summer heat or freezing temperatures—willows thrive in mild, moist conditions. If you’re rooting in water first, start indoors 4–6 weeks before the last frost for a head start!
How long does it take for willow cuttings to root?
Willow cuttings are fast growers—expect roots to appear in 2–4 weeks when planted in water or moist soil. Check for resistance when gently tugging the cutting (roots = success!). In ideal conditions (warmth, humidity, and indirect light), some varieties even sprout leaves within a few weeks!
Can I root willow cuttings directly in soil instead of water?
While water rooting is popular, direct soil planting works too. Bury 2–3 inches of the cutting in damp, nutrient-rich soil (like a mix of potting soil and sand). Keep it moist and in partial shade until roots establish. Soil-rooted cuttings may take slightly longer but often adapt better to outdoor conditions once planted.
Why aren’t my willow cuttings rooting? Troubleshooting tips
If your cuttings refuse to root, check these common issues:
- Stale water: Change water every 2–3 days to prevent bacteria/fungus.
- Low humidity: Cover with a plastic bag or mist daily for tropical-like conditions.
- Poor cutting quality: Use pencil-thick, flexible stems (not woody or dried out).
- Temperature stress: Keep cuttings in 60–75°F—avoid drafts or direct sun.
Pro tip: Hormone rooting gel can boost success rates if your cuttings are stubborn!
What’s the best willow variety for beginners?
Start with weeping willow (Salix babylonica) or pussy willow (Salix discolor)—both root easily and are hardy. Avoid black willow (Salix nigra) for cuttings, as it’s slower to propagate. Look for fresh, green stems with tight buds for the highest success rate!
Wrapping up and next steps
Planting willow cuttings is a rewarding way to grow these fast-spreading trees with minimal effort! Whether you root them in water or soil, the key lies in selecting healthy cuttings, providing the right conditions, and staying patient as roots develop.
With just a little care, you’ll soon have thriving willows ready to brighten up your garden or landscape.
Now that you’re armed with the know-how, why not give it a try this weekend? Grab your cuttings, follow the steps, and enjoy watching nature’s magic unfold. Happy planting! 🌱✨