Pruning
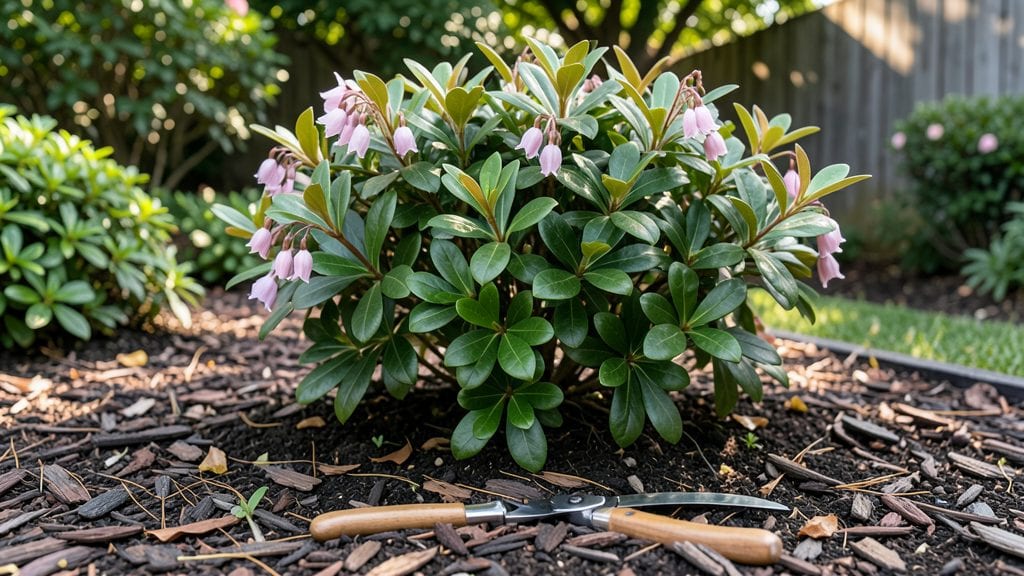
Mastering pieris plant pruning at the right time can double next year’s blooms—if you do it correctly.
Struggling to get your Pieris japonica to produce vibrant blooms year after year? The secret lies in strategic pruning—done at the right time and with the right technique, you can transform a sparse shrub into a lush, flowering powerhouse.
Most gardeners wait too long or cut too aggressively, which stunts growth and reduces flowers. But with the right approach—timing your cuts to late winter or early spring and focusing on shaping rather than shearing—you’ll encourage stronger stems and more abundant blooms.
Below, I’ll walk you through the exact steps, from the best tools to use to how to spot (and fix) common mistakes that rob your Pieris of its potential.


Best time and season for Pieris plant pruning to maximize blooms
Timing your Pieris japonica pruning correctly is the key to unlocking those stunning spring blooms you adore. Unlike many shrubs, Pieris flowers on old wood, so pruning at the wrong time can leave you staring at bare branches instead of cascading bell-shaped flowers.
The best window for pruning is late winter to early spring, just as new growth begins—but before buds swell. This timing ensures you don’t accidentally remove next year’s flower buds hidden among last year’s stems.
Understanding your USDA hardiness zone is crucial because Pieris thrives in zones 5-8. In colder zones (5-6), wait until after the last frost (typically March-April) to avoid frost damage to fresh cuts.
Meanwhile, in zones 7-8, you can prune as early as February since frost risks are minimal. The goal is to prune before active growth begins but after dormancy ends.
Why late winter/early spring? This timing aligns with Pieris’ natural growth cycle. Pruning now removes dead or weak wood while allowing new shoots to emerge from the base, which will develop into next year’s blooms. Fall pruning is a no-go—it stimulates tender growth that won’t survive winter, leaving your shrub vulnerable to cold damage or fungal infections.
For gardeners in USDA zone 6a (like much of the Midwest), aim to prune between mid-March and early April. Check your local last frost date—Pieris can handle light frosts, but avoid pruning if a hard freeze is forecasted within 7-10 days.
In warmer zones (7-8), prune in February to give the plant time to recover before summer heat sets in.
Here’s the golden rule: Never prune after buds form in late winter, as this removes next year’s flowers. Pieris blooms on old wood, so the flower buds are already set by the time you see last year’s blossoms.
Cutting too late risks reducing flowering by up to 50%.
What about light pruning? You can shape and thin your Pieris after flowering (late spring) to maintain its form, but keep cuts minimal—no more than 20% of the plant’s volume. This post-bloom pruning encourages new growth for summer but won’t impact next year’s flowers as severely.
In coastal or humid climates (like the Southeast), avoid pruning during wet seasons (e.g., May-Junepowdery mildew or bacterial leaf spot. Instead, stick to dry, mild days in late winter or early spring. Always sterilize your pruning tools with rubbing alcohol to kill pathogens.
Mature Pieris shrubs (over 5 years old) may need rejuvenation pruning every 3-5 years to remove old, woody stems from the base. Do this in early spring by cutting back 1/3 of the oldest stems to the ground. This stimulates vigorous new growth and maintains a youthful, bushy shape.
If you miss the ideal pruning window, don’t panic. A light shaping in summer (after blooms) is better than no pruning at all. Just avoid heavy cuts—Pieris is forgiving but slow to recover from aggressive pruning.
Pro tip: Mark your calendar for February-March each year to prune Pieris. Pair this with a light fertilizer application (like 10-10-10) after pruning to fuel new growth and bloom production. With the right timing, your Pieris will reward you with years of spectacular spring color.
🌿