Propagation
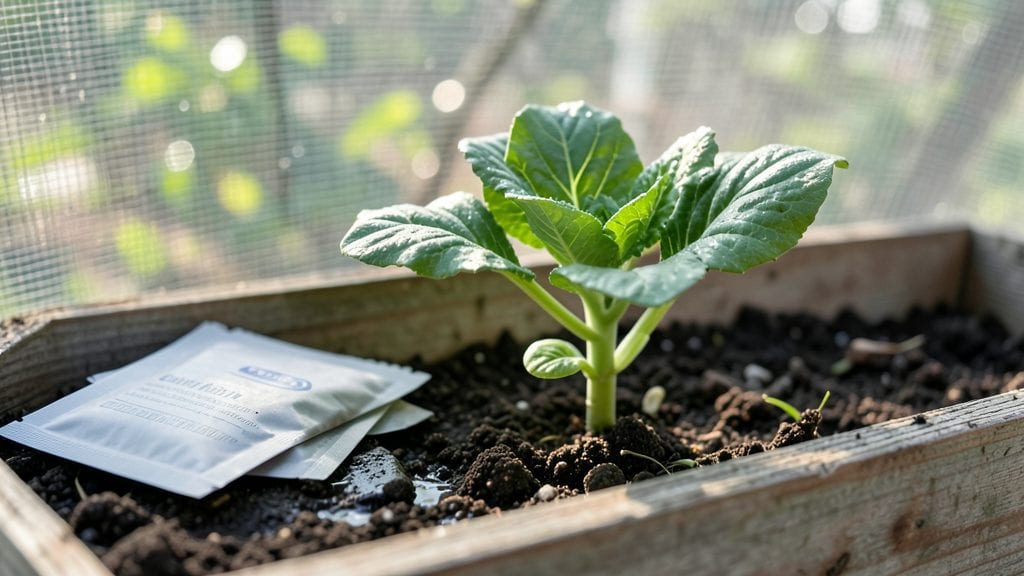
The planting seeds process starts with the right soil, light, and patience—three things that turn tiny specks into thriving plants. I’ll never forget the first time I watched a seedling crack through the soil, and I’m here to make sure you experience that same magic without the guesswork.
This isn’t about luck; it’s about understanding what seeds actually need to wake up, grow strong, and resist common pitfalls like damping off or uneven germination.
You’ll need just a few basics: quality seed-starting mix (not garden soil), containers with drainage, a heat mat or sunny windowsill, and a spray bottle for gentle watering. The key is keeping things consistent—moist but not soggy, warm but not hot, and bright enough to prevent leggy seedlings.
Most mistakes happen in these early stages, but once you get the rhythm, it becomes second nature.
By the time you’re pinching off those first true leaves, you’ll have plants that outpace store-bought seedlings—stockier stems, stronger roots, and a head start on the growing season. The payoff comes when you transplant them into the garden, where they’ll establish faster and produce better than anything you could’ve bought.
Let’s get those seeds in the ground the right way.
This works for everything from tomatoes and peppers to delicate herbs and flowers, whether you’re starting in February or June. The principles stay the same, no matter the season or plant. Here’s how to do it without overcomplicating things—no fancy tools or green thumbs required.
📚 In This Guide
- What you need
- Instructions
- Tips and common mistakes
- Wrapping up and next steps
What you need
- ● Seeds: Choose high-quality, fresh seeds (check the packet for planting depth and spacing instructions). Pro tip: Start with easy-to-grow varieties like marigolds, beans, or lettuce!
- ○ Seed Trays or Pots: 2–4" deep containers with drainage holes (6–12 trays/pots, depending on seed quantity). Optional: Biodegradable pots for transplanting.
- ● Seed Starting Mix: Lightweight, sterile potting soil (1–2 bags, ~1–2 cubic feet). Avoid garden soil—it’s too dense!
- ● Watering Can or Spray Bottle: With a fine mist nozzle for gentle hydration.
- ● Grow Lights or Sunny Windowsill: 12–16 hours of light daily (LED grow lights work great for indoor setups).
- ● Plastic Wrap or Humidity Dome: To retain moisture (clear plastic wrap or a DIY dome from a cut plastic bottle).
- ● Labels & Markers: Waterproof labels or popsicle sticks to track seed varieties.
- ● Heating Mat ($15–$30): Speeds up germination for cool-season seeds.
- ● Fertilizer (Balanced 10-10-10 or Seed Starter Formula): Add a pinch to soil before planting.
- ● Tweezers or Planting Tool: For precision when handling tiny seeds.
- ● Thermometer: Monitors soil temperature (ideal range: 65–75°F for most seeds).
- ● Organic Mulch: Like coconut coir or peat moss to retain moisture.
Step-by-step success for planting seeds indoors
Here’s how I’ve grown strong seedlings for years—simple, reliable, and perfect for beginners.
Prepare Your Containers and Soil
Start with clean containers that have drainage holes—no exceptions. I use small plastic cell packs or recycled yogurt cups with holes poked in the bottom. Fill them with a lightweight seed-starting mix, not garden soil. This mix stays loose so roots can spread easily. Moisten it until it feels like a damp sponge, not dripping wet.
Press the soil down gently with your fingers to create a firm surface. This prevents seeds from sinking too deep when you water later. If the mix is dry, add a little more water and let it absorb fully. The goal is soil that holds moisture but doesn’t feel soggy—you’ll know it’s right when it crumbles slightly but doesn’t fall apart.
Plant the Seeds at the Right Depth
Read the seed packet for depth guidelines, but a good rule is to plant seeds no deeper than twice their width. Tiny seeds like lettuce should barely be covered, while larger ones like beans can go a bit deeper. Use your finger or a pencil to make a small hole, drop in 1-2 seeds, and cover lightly with soil.
Don’t press too hard—just enough to settle the seeds. Overcrowding leads to weak, leggy seedlings, so space them properly from the start. If you’re planting multiple seeds in one cell, thin to the strongest one later. Water gently with a spray bottle to avoid disturbing the seeds, and place the containers in a warm spot.
Provide Warmth and Moisture for Germination
Seeds need warmth to germinate, ideally between 70-80°F. If your home runs cooler, place containers on a seedling heat mat or near a sunny window. Cover the containers with plastic wrap or a humidity dome to trap moisture—this keeps the soil consistently damp without overwatering.
Check daily for condensation on the plastic. If it’s gone, mist the soil lightly to maintain humidity. Most seeds sprout within 5-14 days, depending on the type. Once you see the first green shoots, remove the cover immediately to prevent mold. Keep the soil moist but not waterlogged—overwatering at this stage is the fastest way to lose seedlings.
Move to Light and Care for Young Seedlings
As soon as seedlings emerge, place them under grow lights or near a south-facing window for 12-16 hours of light daily. Without enough light, they’ll stretch toward the sun, becoming weak and spindly. If using a grow light, keep it 2-4 inches above the seedlings and raise it as they grow. You’ll know they’re getting enough light when they’re dark green and sturdy, not pale and leggy.
Water from the bottom by placing containers in a tray of water for 10-15 minutes. This encourages roots to grow downward instead of sitting in wet soil. Thin seedlings if needed, leaving the healthiest one per cell. Fertilize lightly with a diluted seedling formula after the first true leaves appear—this gives them a gentle boost without burning tender roots.
Harden Off Before Transplanting
About 2 weeks before your last frost date, start hardening off seedlings by placing them outside in a sheltered spot for 1-2 hours the first day. Gradually increase their time outdoors over 7-10 days, ending with a full day in the sun. This helps them adjust to wind, temperature swings, and direct sunlight.
Watch for signs of stress, like wilting or yellowing leaves. If you see this, bring them back inside for a day and try again the next day. Once they’re thriving outdoors, they’re ready to transplant. Choose a cloudy day or late afternoon to minimize shock, and water deeply after planting to help roots settle in.
Tips & tricks for perfect seed starting
These simple strategies will help you avoid common pitfalls and grow strong, healthy seedlings every time.
Container Selection: Don't overlook the importance of container size and material. While small cell packs work well, you can also use egg cartons or even toilet paper rolls cut into 2-inch sections. Just make sure whatever you use has drainage holes—no exceptions. I've found that clear plastic containers let you monitor moisture levels without opening them, which prevents temperature fluctuations that can stress seedlings.
Soil Moisture Management: The key to consistent moisture is to water from the bottom whenever possible. After planting, place your containers in a tray of water for 10-15 minutes, then drain any excess. This method encourages roots to grow downward and prevents the soil from becoming waterlogged at the surface. I've seen many beginners overwater because they water from the top—this leads to crusty soil that blocks air and moisture from reaching the roots.
Lighting Strategy: For the 12-16 hours of daily light, position your grow lights or seedlings about 2-4 inches above the plants. You'll need to adjust this distance as they grow—aim to keep the light just above the tallest leaves. I've noticed that many people either place lights too high (resulting in leggy seedlings) or too low (which can burn the plants). A simple trick is to hold a piece of paper between the light and plants—if it gets too warm to hold for more than 5 seconds, the light is too close.
Germination Troubleshooting: If your seeds aren't sprouting within the expected 5-14 days, first check the temperature—most seeds need that consistent 70-80°F range to germinate. Another common issue is old seeds—if they're more than a year old, their viability drops significantly. I've had success with a simple germination test: place a few seeds between damp paper towels in a sealed bag and check for sprouts in 3-5 days. If they don't sprout, they're likely too old to plant.
Pro Tips for Planting Seeds Process
- These simple strategies will help you avoid common pitfalls and grow strong, healthy seedlings every time.
- Container Selection: Don't overlook the importance of container size and material.
- Soil Moisture Management: The key to consistent moisture is to water from the bottom whenever possible.
Frequently asked questions
Got questions about planting seeds? You’re not alone! Here are some of the most common queries—and their straightforward answers—to help you grow with confidence.
What’s the best time of year to plant seeds?
The ideal time depends on your climate and the plant type. Cool-season crops (like lettuce or peas) thrive in early spring or fall, while warm-season plants (tomatoes, peppers) need soil temps above 60°F (15°C). Check your last frost date—plant outdoors 2–4 weeks after for safety. For indoor starts, begin 6–8 weeks before the last frost.
How deep should I plant seeds?
Depth varies by seed size: tiny seeds (like basil or petunias) need just 1/8 inch (3mm) of soil, while larger seeds (beans, sunflowers) go 1–2 inches (2.5–5cm) deep. A handy rule? Plant seeds 2–3 times their width below the surface. Press gently to ensure good soil contact—this helps moisture reach the seed!
Why aren’t my seeds germinating?
Germination fails for a few common reasons:
- Too cold/dry: Use a seedling heat mat or keep soil moist (not soggy).
- Old seeds: Test viability by floating seeds in water (sinkers are good; floaters may be dead).
- Poor soil contact: Press seeds lightly into soil or mix with coco coir for better moisture.
- Light needs: Some seeds (like tomatoes) need darkness to sprout—cover lightly with soil!
Can I plant seeds directly in the ground, or should I start indoors first?
It depends! Direct-sow hardy plants like carrots, beans, or marigolds outdoors—they hate transplanting. Start indoors delicate or slow-growing plants (tomatoes, peppers, herbs) 6–8 weeks before the last frost. Use biodegradable pots to avoid root disturbance when moving outside.
What are some easy seeds for beginners?
If you’re new to gardening, start with these forgiving, fast-growing seeds:
- Radishes (sprout in 3–4 days!)
- Zucchini (grows aggressively—great for confidence!)
- Lettuce (cut-and-come-again varieties regrow)
- Sunflowers (tolerate poor soil and grow tall)
- Basil (herbs are low-maintenance and rewarding)
Bonus: These plants often self-seed, meaning you’ll get free plants next year!
Wrapping up and next steps
Mastering the planting seeds process is a rewarding journey that connects you to nature while yielding beautiful blooms or bountiful harvests. Whether you’re a beginner or a seasoned gardener, each step—from soil prep to nurturing sprouts—builds confidence and skills. 🌱
Now that you’re armed with knowledge, take the next step: grab your seeds, a sunny spot, and start planting! Track your progress, experiment with new varieties, and watch your green thumb grow. Happy gardening—your future plants are waiting! 🌱✨