Planting
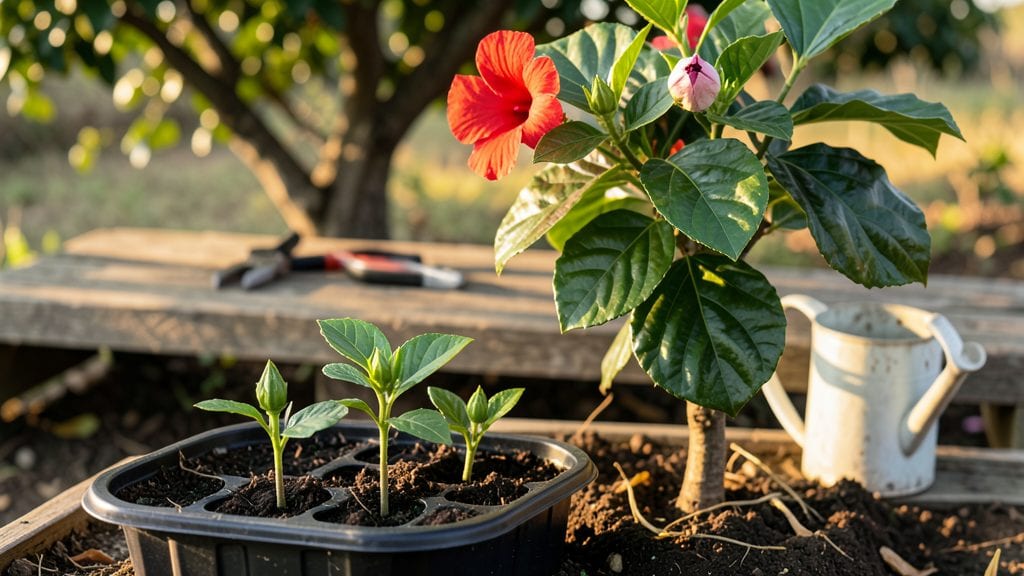
Transplanting hibiscus plants at the right time means bigger blooms and fewer surprises. ✨ I’ve moved mine twice now, and the second time—when I followed the exact steps I’m sharing—my plant exploded with flowers by midsummer instead of struggling for weeks.
The secret is timing and prep: wait until nighttime temps stay above 50°F, dig a hole twice as wide as the root ball, and mix in compost for that rich, well-draining soil hibiscus crave.
Water deeply before and after moving, and trim back any leggy growth to focus energy on root recovery.
Within 2-3 weeks, you’ll see new shoots pushing through, and by late summer, your hibiscus will reward you with vibrant blooms that last longer than store-bought cut flowers. The key is keeping it consistently moist but not soggy—mulch helps with that.
Works for both tropical and hardy hibiscus varieties, whether you’re shifting from pots to ground or just upgrading containers. Here’s how to do it without turning your plant into a sad, wilted mess.
📚 In This Guide
- What you need
- Instructions
- Tips and common mistakes
- Wrapping up and next steps
What you need
- ● Healthy hibiscus plant(s): 1-3 mature plants (3-5 ft tall, depending on variety)
- ● New planting location: Well-draining soil (pH 6.0–7.0)
- ● Full sun exposure (6+ hours/day)
- ● Space: 5–10 ft between plants (varies by variety)
- ● Garden tools: Trowel or spade (for digging)
- ● Pruning shears (sterilized)
- ● Garden gloves (to protect hands)
- ○ Soil amendments (optional but helpful): Compost (1–2 gallons per plant)
- ● Slow-release fertilizer (10-10-10 or hibiscus-specific)
- ● Mulch (2–3 inches of pine bark or shredded leaves)
- ● Watering supplies: Hose with gentle spray nozzle or watering can
- ● Bucket (5+ gallons for post-transplant hydration)
- ● Root stimulator (like mycorrhizal fungi or liquid rooting hormone)
- ● Plant support (stakes or cages for tall varieties)
- ● Transplanting pot (if relocating indoors temporarily)
- ● Shade cloth (for hot transplant days)
Step-by-Step instructions for transplanting hibiscus plants
Here’s how to move your hibiscus with minimal stress and maximum bloom potential.
🪴 Step 1: Choose the Right Time and Location
Transplant hibiscus in early spring or late fall when temperatures are mild—50-75°F is ideal. Avoid transplanting during heatwaves or frost, as extreme temperatures shock the plant. Pick a spot with full sun (6+ hours daily) and well-draining soil, since hibiscus roots rot easily in soggy conditions.
If you’re moving an indoor hibiscus outdoors, harden it off first by placing it outside for 1-2 hours daily over 7-10 days. Watch for yellowing leaves—this signals stress, so slow down the exposure time. The new location should mirror the plant’s current light conditions to avoid leaf scorch.
🌱 Step 2: Prepare the New Planting Site
Dig a hole twice as wide as the hibiscus’s root ball but only as deep as the container it’s currently in. Loosen the soil at the bottom of the hole with a garden fork to encourage root spread. Hibiscus thrive in slightly acidic to neutral soil (pH 6.1-7.5), so mix in 2 inches of compost or aged manure into the hole to enrich it.
If your soil drains poorly, add a 3-inch layer of gravel at the hole’s base before backfilling. This prevents waterlogging, which is hibiscus’ #1 killer. Gently tap the sides of the hole to remove air pockets, then water it lightly to settle the soil before planting.
💧 Step 3: Carefully Remove and Relocate the Plant
Water the hibiscus deeply the day before transplanting to reduce root damage. Slide the plant out of its container, supporting the stem with one hand while loosening the root ball with the other. If roots are circling tightly, tease them apart gently—never force them. This prevents girdling, which strangles growth.
Place the hibiscus in the hole so the top of the root ball sits level with the soil surface—burying the stem too deep causes rot, while planting too high stresses the plant. Fill the hole with the amended soil, pressing lightly to eliminate air gaps. Water slowly but deeply until moisture seeps 6 inches down, ensuring roots make full contact with the soil.
☀️ Step 4: Support and Protect the Transplanted Hibiscus
Stake the hibiscus immediately if it’s top-heavy or leggy—hibiscus can grow 6-10 feet tall, and wind easily snaps weak stems. Use 2-3 stakes tied loosely with soft twine to avoid cutting into the bark. Mulch the base with 2-3 inches of organic mulch (like shredded bark) to retain moisture and regulate soil temperature.
Keep the transplanted hibiscus consistently moist but not soggy for the first 4-6 weeks. You’ll know it’s thriving when new leaves emerge within 3-4 weeks—this means the roots have established. Avoid fertilizing until you see new growth, as stressed plants can’t handle nutrients yet.
✂️ Step 5: Monitor and Maintain for Long-Term Health
Check the hibiscus weekly for signs of stress: yellowing leaves often mean overwatering, while crispy edges signal underwatering. Prune any damaged or leggy branches back to a healthy leaf node to encourage bushier growth. Hibiscus bloom best when slightly root-bound, so avoid over-potting—12-18 inches of root space per year is plenty.
Once established, feed with a balanced, slow-release fertilizer (10-10-10) every 6-8 weeks during the growing season. Watch for aphids or spider mites—a strong spray of water usually knocks them off. With proper care, your hibiscus will reward you with vibrant blooms within 8-12 weeks of transplanting.
Tips & tricks for transplanting hibiscus plants
Moving hibiscus doesn't have to be stressful—here's how to ensure your plant thrives in its new home.
Timing is Everything: The 1-2 hour daily hardening-off period for indoor hibiscus is crucial. I've seen plants go into shock when moved too quickly—start with just 30 minutes on day one, then gradually increase to full sun exposure. Watch the leaves closely; if they yellow, you're moving too fast. The goal is to mimic the plant's current light conditions while preparing it for outdoor conditions.
Root Ball Rescue: When loosening that root ball in Step 3, don't be afraid to get your hands dirty! Gently teasing apart circling roots prevents girdling, which can strangle your hibiscus. I like to use a garden fork to carefully separate roots while keeping the root ball intact. This might take a few minutes, but it's worth it for long-term plant health. The key is patience—never force roots apart as this can cause more damage than good.
Watering Wisdom: That 6 inches deep watering after transplanting is non-negotiable. I've made the mistake of thinking "a little water" would be enough, only to see plants struggle. Use your finger to check moisture—it should feel damp but not soggy. After the initial watering, maintain consistent moisture for those first 4-6 weeks. A drip irrigation system works wonders for keeping moisture levels just right without the guesswork.
Soil Secrets: The 2 inches of compost you mix into the hole isn't just for show—it's what gives hibiscus the nutrients they need to recover from transplant shock. I recommend using well-aged compost or manure to avoid burning delicate roots. For extra insurance, you can add a handful of bone meal to the hole for phosphorus, which encourages root growth. Just be sure to mix it thoroughly with the native soil.
Pro Tips for Transplanting Hibiscus Plants
- Moving hibiscus doesn't have to be stressful—here's how to ensure your plant thrives in its new home.
- Timing is Everything: The 1-2 hour daily hardening-off period for indoor hibiscus is crucial.
- Root Ball Rescue: When loosening that root ball in Step 3, don't be afraid to get your hands dirty!
Frequently asked questions
Got questions about transplanting your hibiscus? You’re not alone! Here are answers to the most common concerns—so you can confidently relocate your plants and keep those stunning blooms thriving.
When is the best time to transplant hibiscus?
The ideal window is early spring or late fall, when temperatures are mild (50–75°F). Avoid transplanting during extreme heat, cold, or while the plant is actively flowering—this reduces shock. If you must move it in summer, do it in the early morning or late evening to minimize stress.
How do I prepare the new planting hole for hibiscus?
Dig a hole twice as wide as the root ball but only as deep. Loosen the soil at the bottom with a fork, then mix in compost or aged manure for nutrients. Hibiscus loves well-draining soil—amend heavy clay with sand or perlite if needed. A slight mound of soil in the center helps roots spread outward.
What should I do if my hibiscus leaves turn yellow after transplanting?
Yellowing leaves often signal transplant shock or root damage. Check for:
- Overwatering: Hibiscus hates soggy roots—let the soil dry slightly between waterings.
- Nutrient deficiency: Fertilize lightly with a balanced, water-soluble fertilizer (10-10-10) 2–3 weeks post-transplant.
- Root disturbance: If roots were trimmed, trim them evenly to encourage regrowth.
Can I transplant hibiscus in pots instead of the ground?
Container-growing hibiscus is totally doable—just choose a pot at least 18–24 inches wide with drainage holes. Use a lightweight, well-draining potting mix (like 60% soil, 30% perlite, 10% compost). Move pots to a sunny spot and water when the top 1–2 inches of soil are dry.
How often should I fertilize hibiscus after transplanting?
Wait 4–6 weeks before fertilizing to let roots recover. Then, feed every 4–6 weeks during growing season (spring–fall) with a balanced fertilizer (e.g., 10-10-10) or a hibiscus-specific formula. In winter, reduce to once every 8–12 weeks or skip entirely in cold climates.
Pro Tip: Mulch matters!
Spread 2–3 inches of organic mulch (like pine bark or straw) around the base of your hibiscus to:
- Retain moisture
- Regulate soil temperature
- Suppress weeds
Wrapping up and next steps
Transplanting hibiscus plants doesn’t have to be stressful—just follow the right steps, and you’ll reward yourself with vibrant blooms for seasons to come! 🌸 With the right timing, tools, and care, your hibiscus will thrive in its new home.
Now that you’re equipped with the how-to, it’s time to roll up your sleeves and give your plant the fresh start it deserves.
Ready to take the next step? Mark your calendar for the best transplanting window, gather your supplies, and prepare to enjoy the satisfaction of nurturing a flourishing hibiscus. Happy gardening! 🌱